
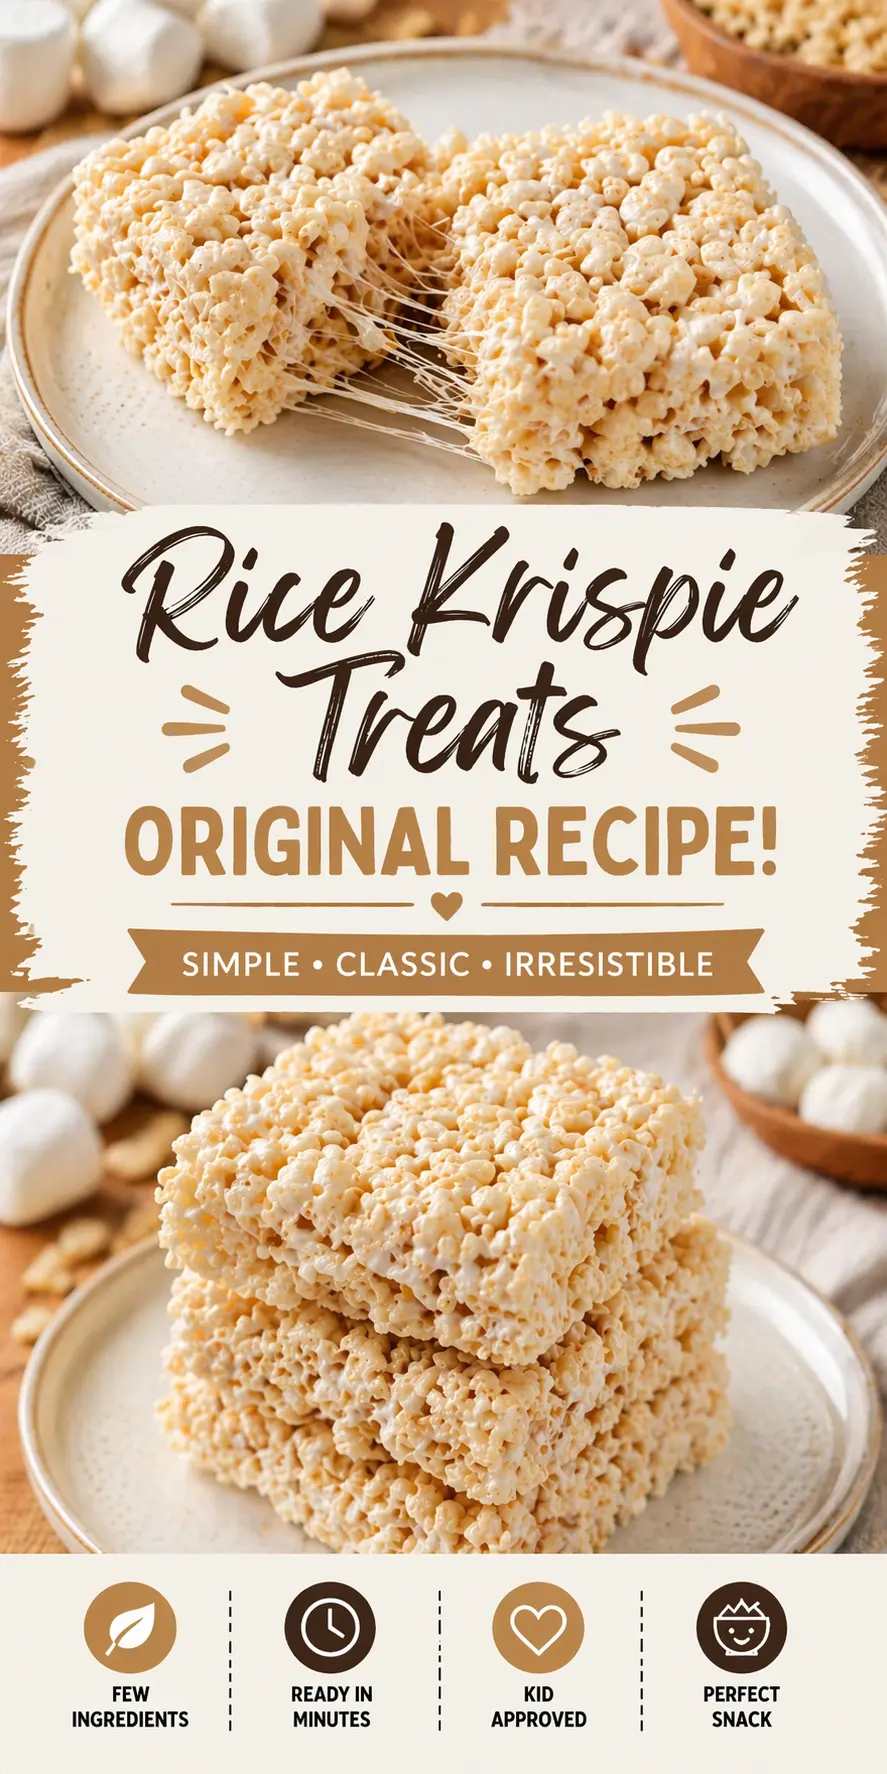
Rice krispie treats are a classic no-bake dessert made with crispy cereal, melted marshmallows, and butter. In this guide, you’ll learn how to make soft, chewy, and perfectly gooey rice krispie treats every time. Whether you’re preparing a quick snack or a party dessert, these rice krispie treats deliver simple ingredients with irresistible results.
Rice Krispie Treats Story & Sweet Nostalgia
A Personal Story Behind Rice Krispie Treats
Hello there! I’m Imaa, creator and dessert chef of Brood Recipes. I still remember the first time I made rice krispie treats on a busy afternoon when I needed something quick and comforting.
Back when I was balancing work and my love for desserts, I searched for recipes that didn’t require baking or complicated steps. That’s when I rediscovered rice krispie treats. They reminded me of childhood—simple, sweet, and always satisfying.
After experimenting with different textures, I found ways to make them softer and richer than ever. Now, rice krispie treats are one of my favorite quick desserts because they’re easy, fun, and always a crowd-pleaser.
Why Rice Krispie Treats Are So Popular
Rice krispie treats remain a favorite for many reasons. First, they require no baking. Then, they use just a few ingredients. Finally, they come together in minutes.
Moreover, rice krispie treats are versatile. You can customize them with chocolate, peanut butter, or sprinkles.
If you enjoy quick desserts, you can also explore no-bake recipes or easy treats on Brood Recipes.
Ingredients and Preparation for Rice Krispie Treats
Essential Ingredients for Rice Krispie Treats
To make the perfect rice krispie treats, you need simple ingredients that create the ideal chewy texture.
| Ingredient | Purpose |
|---|---|
| Rice cereal | Crunchy base |
| Marshmallows | Sweet binder |
| Butter | Rich flavor |
| Vanilla (optional) | Extra flavor |
| Salt (optional) | Balances sweetness |
Using fresh marshmallows ensures a soft and gooey result.
You can also explore dessert basics on Brood Recipes to improve your techniques.
Step-by-Step Preparation Method
Follow these steps for classic rice krispie treats:
- Melt butter in a large pot over low heat.
- Add marshmallows and stir until fully melted.
- Remove from heat and add vanilla if using.
- Stir in rice cereal until evenly coated.
- Transfer mixture to a greased pan.
- Press gently into an even layer.
- Let cool and set before cutting.
Because heat control matters, avoid overheating the marshmallows. If you enjoy simple recipes, check out quick dessert ideas or kid-friendly treats on the site.
Tips, Variations, and Texture Secrets
Pro Tips for Perfect Rice Krispie Treats
To make the best rice krispie treats, follow these tips:
- Use low heat when melting marshmallows
- Do not press the mixture too firmly
- Add extra marshmallows for a softer texture
- Use fresh ingredients for better flavor
Additionally, a pinch of salt enhances the overall taste.
Creative Variations to Try
Rice krispie treats are easy to customize. You can create exciting flavors with simple additions.
Try these ideas:
- Add chocolate chips or drizzle chocolate on top
- Mix in peanut butter for richness
- Add sprinkles for a festive touch
- Use flavored marshmallows for variety
If you enjoy experimenting, you might also like creative dessert recipes or fun snack ideas from Brood Recipes.
Serving Ideas, Storage, and Final Thoughts
Best Ways to Serve Rice Krispie Treats
Rice krispie treats are perfect for any occasion. They’re simple yet satisfying.
You can serve them:
- As a quick snack
- At parties and gatherings
- Packed in lunchboxes
- As a dessert for kids and adults
Because they’re easy to make, they’re great for last-minute treats.
Storage Tips and Make-Ahead Advice
To keep your rice krispie treats fresh:
- Store in an airtight container
- Keep at room temperature for up to 3 days
- Avoid refrigeration to prevent hardness
If you need to prepare ahead, wrap them individually to maintain freshness.
FAQ Section
What is the secret ingredient in rice krispie treats?
The secret ingredient is often extra marshmallows or a splash of vanilla, which enhances flavor and softness.
Are Muslims allowed to eat rice crispy treats?
Yes, but it depends on the marshmallows used. Some marshmallows contain gelatin, so choosing halal-certified marshmallows is important.
What is the secret to the best rice krispie treats?
Using low heat, fresh marshmallows, and not pressing the mixture too firmly ensures the best texture.
What is the recipe for rice crispy treats?
The basic recipe includes melted butter, marshmallows, and rice cereal mixed together and set in a pan.
Conclusion
Rice krispie treats are a simple yet delicious dessert that never goes out of style. With their chewy texture and sweet flavor, they’re perfect for any occasion. By following a few key tips, you can create soft, gooey treats that everyone will love. Whether you keep them classic or add creative twists, rice krispie treats are always a winning choice.
If you love easy weeknight dishes, check out my Air Fryer Lemon Pound Cake or these simple Air Fryer Donut Holes. Both are proof that small tools can create big flavor.
FORE MORE RECIPES VISIT US IN FACEBOOK
PrintRice Krispie Treats – Easy, Chewy, and Perfect No-Bake Dessert
Soft and chewy rice krispie treats made with marshmallows and butter.
- Prep Time: 10 minutes
- Cook Time: 10 minutes
- Total Time: 20 minutes
- Yield: 12 servings
- Category: Dessert
- Method: No-Bake
- Cuisine: American
- Diet: Vegetarian
Ingredients
6 cups rice cereal
4 cups marshmallows
3 tbsp butter
1 tsp vanilla extract
pinch salt
Instructions
1. Melt butter in pot
2. Add marshmallows and stir until melted
3. Remove from heat and add vanilla
4. Mix in cereal until coated
5. Transfer to pan and press gently
6. Let cool and cut into squares
Notes
Use low heat for best texture
Do not press too firmly
Store in airtight container